Rehabbing the RV
Just last week, Meagan and I took the kids camping for one last time this year. Now, cold, yucky weather is upon us, and it's time to winterize the RV and park it until next spring.
Due to the Covid pandemic that has been ruling our lives this year, we weren't able to go camping at the beginning of the summer. We didn't even bring the RV home from storage until June. Then, some of the local campgrounds remained closed for several weeks, and when they finally opened, it was just too hot to be comfortable, and there were too many reports of rattlesnakes. So, we waited.
Bill suggested that we camp in the driveway, but that's just not real camping! Unless we can get outside, someplace where we can enjoy God's beautiful creation, sleeping in the RV would be disappointing, to say the least.
Even though we couldn't camp, I was anxious to clean up the camper, and start a little rehab.
We bought the RV last summer, in the middle of July. Except for some cursory cleaning, we just dived right into camping. The 20-year-old RV was a huge improvement from our previous pop-up camper, in terms of convenience and space, but it was well-used, and desperately in need of some deep cleaning and updating. You'll just have to take my word for it, though, because I was too embarrassed to take any "before" pictures of the inside.
So, I spent a fair number of June mornings, and a good part of July, working in the RV. First, I cleaned all the surfaces, washed the curtains, and shampooed the upholstery. Then, Victoria helped me paint the filthy, textured wallpaper a neutral, light gray, and apply new wallpaper to some damaged walls that wouldn't have looked any better with fresh paint. After much research, I decided to apply a stick-on, vinyl backsplash in the kitchen area, to cover up an awful, and awfully dirty, wallpaper border. I scrubbed and waxed the tile floor, which had been replaced at some point by a previous owner, and used a faux finish technique to temporarily camouflage the beat-up moldings.
 |
| Paint and a new backsplash worked wonders in the kitchen. |
 |
| This is a one-cook kitchen, for sure, but it is more than adequate for making breakfast pancakes and washing dishes. |
 |
| The bathroom benefitted greatly from new, colorful, peel-and-stick wallpaper, and an inspirational picture on the wall: "I know the plans I have for you, declares the Lord..." |
 |
| It's amazing how a little cleaning and some new wallpaper can spruce up a cramped bathroom. |
I decided to do away with the curtains that separated the cab from the rest of the camper, since the RV came with an outside windshield cover that provides all the privacy we need. I used the fabric from those unneeded curtains to sew new curtains for the small, loft windows, and a replacement partition curtain.
Bill helped me install a new sliding panel for the door. He also refinished the rusted switchplates, and drilled some holes for the bathroom towel rack, which needed to be moved. In the process, we learned that some RV walls are made of a material that will only accept nails or screws with much effort.
 |
| The beat-up wall adjacent to the door was greatly improved with some grasscloth wallpaper. |
When everything was done, the RV looked and smelled much better, just in time to go camping at Lake Minatare, and in the Wildcats.
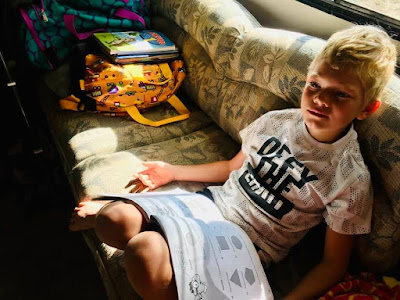
Meagan is a multi-tasking mama, helping Lydia with her schoolwork while putting Ari's socks on for him. The RV's table works well for homeschooling, eating breakfast, and drawing beautiful pictures to hang on the wall.
 |
| The table folds down to make a comfy, two-kid bed. |
It's sad to think that our camping adventures are done until next summer, but I'm already thinking ahead to Phase 2 of our RV rehab. Those ugly window treatments, above the table and couch, need to be replaced ASAP, and the whole RV needs new moldings...
 |
| For Meagan and the kids and I, our aging, refurbished, RV is the pot of gold at the end of the summer's rainbow. |


Comments
Post a Comment